Introduction
Hello everyone!
I’m going to take some time to share with you my knowledge about how to make a custom map editor in Unity.
The idea is not necessarily to give you a working tool for free, but to give you all the notions you need to be able to create your own map editor with your own desires.
The technical solutions explained are probably not the only way to go, but they are the one used making Radiant Blade.
This tutorial will be split into several parts, as there are lots of subjects to be discussed. I don’t yet know how many parts will be written, so hold on ^_^
About the code
Methods and classes that are documented by Unity will not necessarily be explained, as all the information is available with a small google search 🙂
The code displayed in this article is free to use. It has been repurposed specifically for this article (condensated code and comments).
There is nothing here that you won’t be able to do by yourself, novice or professional, but it will provide you solid ground to build upon, and, I hope so, informational knowledge.
Overview of part 1
The following points will be discussed in this first part:
- Editor Windows;
- Displaying visual helpers in the scene view;
- Creating prefabs to fill our map editor’s palette;
- Instantiating the prefabs on click.
Once done, you’ll feel like things are getting started, but you will quickly realize we are nowhere close of a useful tool. But, you know, one step at a time.
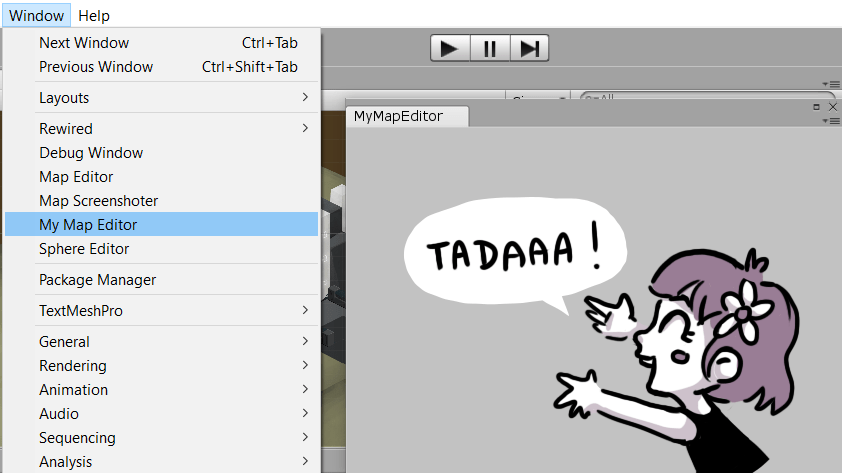
The Editor Windows
https://docs.unity3d.com/ScriptReference/EditorWindow.html
The Editor Windows is provided by Unity to allow us to create our own tool inside the editor. Once your project starts to go professional, custom editors suddenly sprout up from everywhere to smooth your workflow.
If it’s your first time creating an Editor Windows, fear not, Unity made it very easy.
using UnityEngine;
using UnityEditor;

public class MyMapEditor : EditorWindow
{
    // The window is selected if it already exists, else it's created.
    [MenuItem("Window/My Map Editor")]
    private static void ShowWindow()
    {
        EditorWindow.GetWindow(typeof(MyMapEditor));
    }

    // Called to draw the MapEditor windows.
    private void OnGUI() { }

    // Does the rendering of the map editor in the scene view.
    private void OnSceneGUI(SceneView sceneView) { }

    void OnFocus()
    {
        SceneView.onSceneGUIDelegate -= this.OnSceneGUI; // Just in case
        SceneView.onSceneGUIDelegate += this.OnSceneGUI;
    }

    void OnDestroy()
    {
        SceneView.onSceneGUIDelegate -= this.OnSceneGUI;
    }
}
This skeleton contains everything needed to create an Editor Window meant to interface with the Scene View. It does nothing yet, but we will fix that soon enough.
What we just wrote is called “editor code”. It won’t be shipped with the actual game, but it’s executed inside the Unity editor.
For it to work, you need to put the script in a folder named “Editor”, else Unity won’t consider it.
As you may expect, we’ll use the method “OnGUI” to add the UI of our map editor, and the “OnSceneGUI” one to display helpers in the scene view.
Notice that OnSceneGUI must be called via a delegate. This is an oddity from Unity that we have to make with.
Here is everything you need about the Editor Window GUI:
https://docs.unity3d.com/ScriptReference/EditorGUI.html
https://docs.unity3d.com/ScriptReference/EditorGUILayout.html
https://docs.unity3d.com/ScriptReference/GUILayout.html
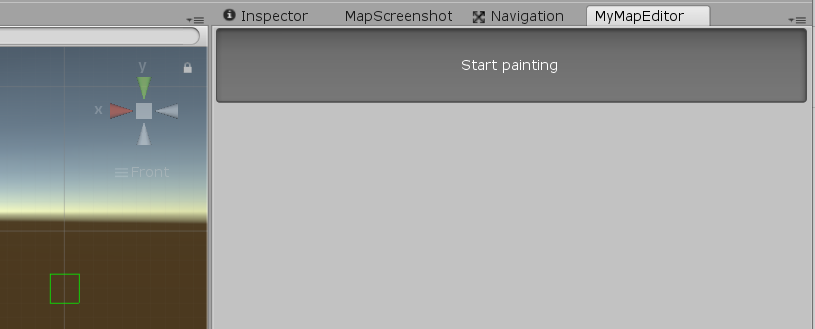
Painting mode and visual help
In the case of the map editor, a cool thing would be to be able to have it opened somewhere while working on other aspects of the game, without needing to open or close the map editor every time.
We are going to display visual help in the scene view, but if we do it all the time, it will be plainly boring for our end-user. The solution is simple: we will provide a toggle so the user can express his intent.
    private bool paintMode = false;

    // Called to draw the MapEditor windows.
    private void OnGUI()
    {
        paintMode = GUILayout.Toggle(paintMode, "Start painting", "Button", GUILayout.Height(60f));
    }

    // Does the rendering of the map editor in the scene view.
    private void OnSceneGUI(SceneView sceneView)
    {
        if (paintMode)
        {
            DisplayVisualHelp();
        }
    }
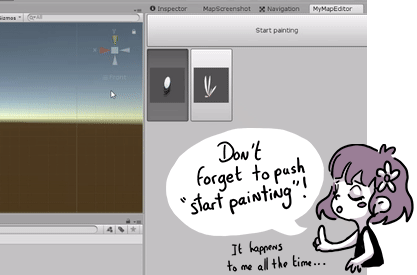
Now that this is out of our way, we can start working on something more tricky: actually displaying visual elements in the scene view.
In this example, we are going to display a clamped green square to help visualize a virtual grid, as if we were making a classic tile-based game. You are maybe creating something else, a platformer, a 3D game, or anything, but whatever you are up to, the technique still applies.
We are going to use the following API to interface ourselves with the scene view:
https://docs.unity3d.com/ScriptReference/Handles.html
https://docs.unity3d.com/ScriptReference/HandleUtility.html
In my humble opinion, these classes are really poorly named. The hardest part when creating the visuals in the scene view was finding these classes. Really.
So, here is the missing code for the DisplayVisualHelp function:
private Vector2 cellSize = new Vector2(2f, 2f);

    private void DisplayVisualHelp()
    {
        // Get the mouse position in world space such as z = 0
        Ray guiRay = HandleUtility.GUIPointToWorldRay(Event.current.mousePosition);
        Vector3 mousePosition = guiRay.origin - guiRay.direction * (guiRay.origin.z / guiRay.direction.z);

        // Get the corresponding cell on our virtual grid
        Vector2Int cell = new Vector2Int(Mathf.RoundToInt(mousePosition.x / cellSize.x), Mathf.RoundToInt(mousePosition.y / cellSize.y));
        Vector2 cellCenter = cell * cellSize;

        // Vertices of our square
        Vector3 topLeft = cellCenter + Vector2.left * cellSize * 0.5f + Vector2.up * cellSize * 0.5f;
        Vector3 topRight = cellCenter - Vector2.left * cellSize * 0.5f + Vector2.up * cellSize * 0.5f;
        Vector3 bottomLeft = cellCenter + Vector2.left * cellSize * 0.5f  - Vector2.up * cellSize * 0.5f;
        Vector3 bottomRight = cellCenter - Vector2.left * cellSize * 0.5f - Vector2.up * cellSize * 0.5f;

        // Rendering
        Handles.color = Color.green;
        Vector3[] lines = { topLeft, topRight, topRight, bottomRight, bottomRight, bottomLeft, bottomLeft, topLeft };
        Handles.DrawLines(lines);
    }
This code gives you the fundamentals:
- Getting the mouse position;
- Displaying geometry in the scene view.
The result is as expected. Now we have a powerful tool capable of displaying a green square in the scene view. Yayyy, how useful ^_^
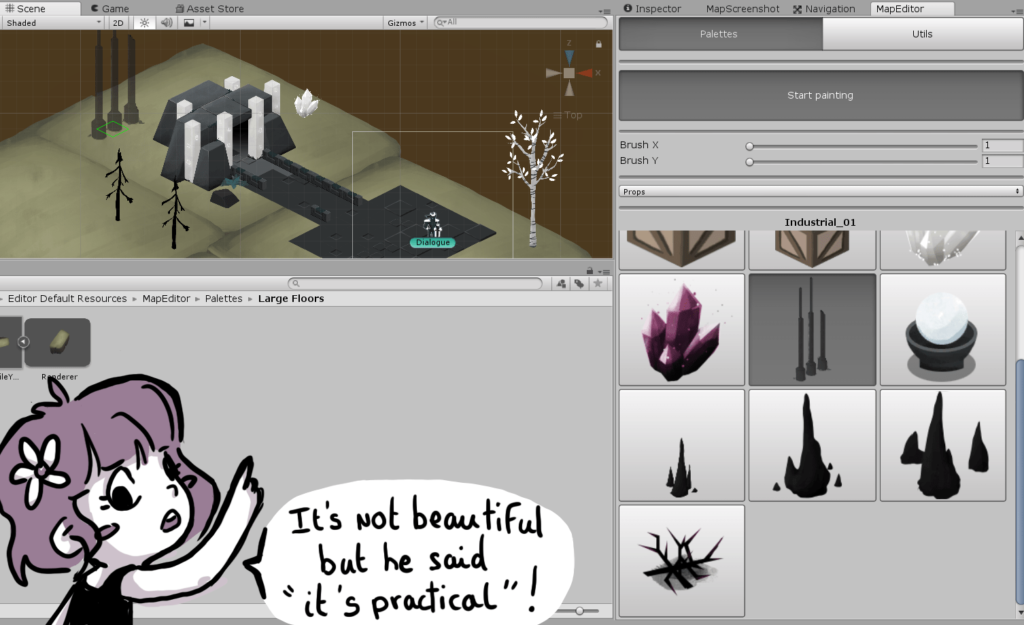
A palette of prefabs, gathering
A map editor is usually about adding and removing things. For now, we will focus on the adding part.
We can either use a custom GUI allowing us to declare assets via drag&drop, or via an “Add” button. It was my first strategy when I first made the map editor, but the workflow was not good. Instead, I’ve settled for loading the assets directly from a specific folder. Much, much more straightforward.
So here is the plan:
- Browsing a specific folder for prefabs;
- Gathering the prefabs in an internal list;
- Displaying them and allowing the user to select one.
About the technicalities, the Editor code cannot access the Resources folder to load the prefabs, the folder is meant to contain the resources at runtime. Fortunately, we can use “Editor Default Resources” instead.
https://docs.unity3d.com/Manual/SpecialFolders.html
Here is the code to gather the prefabs, simple and easy:
    void OnFocus()
    {
        SceneView.onSceneGUIDelegate -= this.OnSceneGUI; // Don't add twice
        SceneView.onSceneGUIDelegate += this.OnSceneGUI;

        RefreshPalette(); // Refresh the palette (can be called uselessly, but there is no overhead.)
    }

    // A list containing the available prefabs.
    [SerializeField]
    private List<GameObject> palette = new List<GameObject>();

    private string path = "Assets/Editor Default Resources/Palette";

    private void RefreshPalette()
    {
        palette.Clear();

        string[] prefabFiles = System.IO.Directory.GetFiles(path , "*.prefab");
        foreach (string prefabFile in prefabFiles)
            palette.Add(AssetDatabase.LoadAssetAtPath(prefabFile, typeof(GameObject)) as GameObject);
    }
I modified the “OnFocus” method to include a refresh of the palette. It can be done in several other ways, but I mostly care about transparency so the user doesn’t need to be aware of this routine when adding new prefabs in the asset folder. OnFocus is a good entry point to achieve that.
If the routine was causing a great overhead, it would be wiser to call only when necessary.
The list has been tagged as serializable. If we don’t do that, the value will be lost when entering playmode. Since we are refreshing the palette on focus, it may not seem useful, but it’s a good habit to serialize the variables in an editor window.
Now, shall we display the prefabs?
A palette of prefabs, displaying
To display the prefabs, we need something intuitive to use.
We could have a list of string containing the prefab names. We could also have a list of toggles. But it would not be particularly user-friendly.
After browsing a little for the perfect solution, I found this beast:
https://docs.unity3d.com/ScriptReference/GUILayout.SelectionGrid.html
This widget will allow us to display a grid of selectable images, which is exactly what we are looking for.
For the preview part, that is, getting images that we can feed to your SelectionGrid, Unity provides us a nice tool: AssertPreview. Simply give your object and Unity handles the rest.
https://docs.unity3d.com/ScriptReference/AssetPreview.html
Apart for the struggle about how to use the SelectionGrid, there is no big issue to write the code:
    [SerializeField]
    private int paletteIndex;

    // Called to draw the MapEditor windows.
    private void OnGUI()
    {
        paintMode = GUILayout.Toggle(paintMode, "Start painting", "Button", GUILayout.Height(60f));

        // Get a list of previews, one for each of our prefabs
        List<GUIContent> paletteIcons = new List<GUIContent>();
        foreach (GameObject prefab in palette)
        {
            // Get a preview for the prefab
            Texture2D texture =AssetPreview.GetAssetPreview(prefab);
            paletteIcons.Add(new GUIContent(texture));
        }

        // Display the grid
        paletteIndex = GUILayout.SelectionGrid(paletteIndex, paletteIcons.ToArray(), 6);
    }
Now to get it working, we need actual prefabs in our Palette folder. I added two of them with random sprites from Radiant Blade to show the result:

We are now one click away from having a first working version of the map editor, that is, a click to place the prefabs in the scene view.
Placing the prefabs
Clicking in the scene view is kind of hellish. It seems simple at first, but it’s actually a mess, as it depends of the cursor type, of whether you are clicking on an object or not and of whether you are interested by the click or by the fact that the button is pressed down.
The API offered by Unity for this is way more complex that “Input”, and some key features are missing. Fortunately for this first part, we won’t need to dig too much into this, we just want to click in order to place an object and that’s it, nothing fancy.
First, since we are adding things in the scene view, we don’t want to select what’s already there. There are several ways to do that, but the most efficient one I found is the following one:
    // Does the rendering of the map editor in the scene view.
    private void OnSceneGUI(SceneView sceneView)
    {
        if (paintMode)
        {
           Vector2 cellCenter = GetSelectedCell(); // Refactoring, I moved some code in this function


            DisplayVisualHelp(cellCenter);
            HandleSceneViewInputs(cellCenter);

            // Refresh the view
            sceneView.Repaint();
        }
    }

    private void HandleSceneViewInputs(Vector2 cellCenter)
    {
        // Filter the left click so that we can't select objects in the scene
        if (Event.current.type == EventType.Layout)
        {
            HandleUtility.AddDefaultControl(0); // Consume the event
        }
    }
We are adding an empty action to consume the event. The code afterward in our map editor will deal with the actual event, and the rest of Unity won’t interfere with us.
I also reworked the code a little bit to have the mouse position in the scene view computed only once, as we are going to need it at two places.
Now, we want to know if we are doing a left click, and if so, we want to create a prefab at the mouse position. Ready?
        // We have a prefab selected and we are clicking in the scene view with the left button
        if (paletteIndex < palette.Count && Event.current.type == EventType.MouseDown && Event.current.button == 0)
        {
            // Create the prefab instance while keeping the prefab link
            GameObject prefab = palette[paletteIndex];
            GameObject gameObject = PrefabUtility.InstantiatePrefab(prefab) as GameObject;
            gameObject.transform.position = cellCenter;

            // Allow the use of Undo (Ctrl+Z, Ctrl+Y).
            Undo.RegisterCreatedObjectUndo(gameObject, "");
        }
As a little extra, I’m using Unity’s Undo system and I am not breaking the prefab link. You can undo a mistake by using ctrl+Z and the maps will be kept up-to-date even if you modify the prefabs afterward.
Here is the result:
What’s next?
Through this article, we have laid the fundamentals to have a working map editor, but it is in no way near a production-ready state.
Among other things, we are going to need:
- Brushes to paint areas;
- Random selection of a variation among a list of prefabs;
- Deletion of the existing objects by clicking on them;
- Automatic replacement when putting an object on top of another one;
- Ability to paint continuously without having to spam left click;
- Layers to be able to place a tree over a spot of grass.
What more to say? Part 2 is available here !
Since we wrote this article we release Edimap on the Asset Store !
Go check it out ! You might be interested 😉
Great article! Perfect level of detail and spot on!
So, no part 2, eh? That’s sad. Part 1 was really great. I found by mistake and I truly enjoyed – it’s quite hard to find such good articles about Unity.
Hi Eduardo!
We are really happy you appreciate our content. The next part should be available soon (it is written and is being reviewed by the team). Stay tuned !
Regards,
Simon
Awesome explanation, I was not undestanding why Editor Window doesn’t have OnSceneGui method like in Editor (for custom inspectors), but now I see that you need these delegates. Saved my life!
This bit of code helped fix an issue i was having:
// Filter the left click so that we can't select objects in the sceneif (Event.current.type == EventType.Layout)
{
HandleUtility.AddDefaultControl(0); // Consume the event
}
But i really don’t really understand what it is doing.. any chance you can explain it? I was having issues of losing focus of the GameObject in the inspector when i clicked in the scene and this fixed that problem. But i have no idea why it works and no idea how you even figured it out lol
Hello!
I don’t remember how I ended up with those lines, I think I found a few examples here and there and combined them until it made sense.
The idea is that each component in Unity will say if they take the event for themselves. It’s pretty similar to any UI code you can find in most frameworks, even outside Unity.
This code is pretty brutal, it says:
“For all events, say that no one used it”.
It is probably very hacky, but since Unity is not providing any clear documentaiton on the matter, we don’t have much choice other than to go with anything that seems to work ^^.
To help you out if you like to understand how things work, there is this bit of code from Unity that handles the selection in the scene view:
https://github.com/Unity-Technologies/UnityCsReference/blob/master/Editor/Mono/SceneView/RectSelection.cs
As you can see, we are mostly overriding it no matter what with some dummy control of ID 0, no matter what happened before us.
If you dig into Unity code, you will find something like this here and there that shows that 0 is a value to be ignored:
s_NearestControl != 0
Reading a bit Unity’s code, I think the actual line of code should be AddControl(0, 0) and not AddDefaultControl(0), because AddDefaultControl actually calls AddControl(0, 5) and says that the ID 0 has been accepted at a distance of 5px.
Saying AddControl(0, 0) instead would give a distance of 0, which would be safer.
// Record a distance measurement from a handle.

        public static void AddControl(int controlId, float distance)

        {

            if (distance < s_kPickDistance)

                distance = kPickDistance;
if (distance <= s_NearestDistance)
{
s_NearestDistance = distance;
s_NearestControl = controlId; // This line is where the magic happens
}
}
This is amazing! To date still the most detailed tutorial on this process I can find. I adapted mine to work in Unity3D, using height instead of layer, starting at y=0 and allowing MapObjects to be placed on top of others by increasing y whenever there’s something below.